Cranberry Orange Bundt Cake with Orange Glaze & Frosted Cranberries

Sunday, December 10, 2017

The holidays are just around the corner and I am just finishing up with the last of my shopping and gift wrapping. Yay me! I can't believe that I am actually done and not scrambling last minute like usual.

My house is all decorated. The snow is covering the surrounding mountains and is headed our way. My fireplace runs most of the day. My home is filled with good tidings and cheer. Our Christmas cards are all filled out and ready to be delivered. I am totally in the Christmas spirit.
I am actually gettin a little bit of "me time" and I've been enjoying blogging, sewing, baking, and hanging out with my hubby.
One of my favorite things to do is bake up something delicious in my kitchen. Really, I enjoy doing that year round, but I especially love it durning the holiday season. I love the smell of something sweet and inviting throughout my home, and so does Alan. The smell of something baking in the oven as we sit around the fire and catch up on our day is just the best. Cranberry and orange is one of my very favorite holiday scents.
A couple nights ago I pulled out a recipe that I made and took to our company Christmas party years and years ago, it was a huge hit and everyone loved it. It's a bundt cake with the perfect mix of cranberries and oranges, topped with sweet, sugar coated cranberries, and a fresh orange glaze. So yummy and festive! The perfect dessert to serve during the holidays.
You can see how I made the Easy Sugar Frosted Cranberries here.

Here's what you'll need for the Cranberry Orange Bundt Cake...
Butter and flour a bundt cake pan well and sit aside.
Mix together the eggs, fresh squeezed orange juice, orange zest, and vanilla. Sit aside.
Toss cranberries into flour and coat (so they will stay suspended in the cake batter while baking) and sit aside.
Using a stand mixer, add in the sugar, baking powder, salt and flour. On low, add 1 tablespoon of butter at a time until course crumbles are throughout. Turn speed up the mixer to medium and slowly add in the orange juice mixture.
Once combined, beat together for 2 minutes until light and fluffy.
Gently fold in the flour coated cranberries.
Pour the batter into prepared bundt cake pan and smooth the top.
Bake in a preheated 350 degree F oven for 35-45 minutes or until toothpick comes out clean. Remove the cake from oven and let cool 10 minutes on wire rack.
Remove from pan and let it cool completely.

Orange Glaze...

Whisk together
2 1/2 cups powdered sugar
3 tablespoons fresh squeezed orange juice
1/2 teaspoon vanilla
1 tablespoon cranberry simple syrup (see the frosted cranberry recipe)
2 tablespoons melted butter
1 tablespoon or enough until pourable consistency is achieved

Pour over cooled cake. This dries smooth and shiny and oh so pretty.
You can leave the cake as is or decorate it with some pretty frosted cranberries and rosemary. I of course love the look of the cranberries! It's just so pretty and festive!!
Cranberry Orange Bundt Cake
 Ingredients:

  • 4 eggs, room temperature
  • 3/4 cup fresh squeezed orange juice
  • 2 tbsp orange zest
  • 1 tsp vanilla
  • 3/4 cup fresh cranberries + 1/4 cup flour for coating
  • 2 1/2 cups all purpose flour
  • 2 cups sugar
  • 1/2 tbsp baking powder
  • 1 tsp salt
  • 2 and 1/4 sticks unsalted butter, from temperature

Directions:

  1. Butter and flour a bundt cake pan well and sit aside.
  2. Mix together the eggs, fresh squeezed orange juice, orange zest, and vanilla. Sit aside.
  3. Toss cranberries into 1/4 cup flour and coat (so they will stay suspended in the cake batter while baking) and sit aside.
  4. Using a stand mixer, add in the sugar, baking powder, salt and flour. 
  5. On low, add 1 tablespoon of butter at a time until course crumbles are throughout.
  6. Turn up the speed to medium and slowly add in the orange juice mixture. 
  7. Beat together for 2 minutes until light and fluffy.
  8. Gently fold in the flour coated cranberries.
  9. Pour the batter into prepared bundt cake pan and smooth the top.
  10. Bake in a preheated 350 degree F oven for 35-45 minutes or until toothpick comes out clean.
  11. Remove from oven and let cool 10 minutes on wire rack.
  12. Remove the cake from pan and let it cool completely on wire rack.

Orange Glaze...
Ingredients:

  • 2 1/2 cups powdered sugar
  • 3 tablespoons fresh squeezed orange juice
  • 1/2 teaspoon vanilla
  • 1 tablespoon cranberry simple syrup (see the frosted cranberry recipe)
  • 2 tablespoons melted butter
  • 1 tablespoon or enough until pourable consistency is achieved 
Directions:

  1. Whisk together until smooth.
  2. Pour over cooled cake.
The recipe for the Easy Sugar Frosted Cranberries is here.
Thank you so much for stopping by, I hope you have a very sweet and beautiful day. Happy Holidays!

Easy Sugar Frosted Cranberries

'Tis the season for families, traditions, good tidings, yummy desserts, and beautiful decorations. I am in the Christmas spirit, and since all of my decorating and shopping is done, that just means it's time for baking and delivering goodies to my friends and neighbors.
One of my favorite flavors of the season is cranberries. Not only do they look pretty, sparkly, and Christmasy, but they are the perfect combination of sweet and tart, kinda like me ;)
These sugar frosted cranberries are pretty easy to make and they look so pretty as a garnish on cakes, pies, cocktails, and other desserts. I've added these to cookies, muffins, breads, pancakes, waffles, oatmeal and so much more. They are just the perfect finishing touch. They are also great for a easy snack on the go.
Cranberries are easy to come by this time of year so I take full advantage of that. I prefer to use fresh cranberries when ever I can. When frosting them, I think that fresh works the best.

This is such a simple recipe. It take only 3 ingredients to make them. They last about 2 days so when you make them, be ready to use them right away.

Plus you will have about 1 cup of cranberry infused simple syrup when you're done. It is the perfect sweetner for lemonade, cocktails, and other drinks! I put mine in a cute little mason jar for storage.
Here's what you'll need...
Thoroughly wash and sort the cranberries. Discard any that are damaged and soft.
I like to lay them out on a white linen towel to sort them. It also makes it easier to see any stems that may not have come off during the washing process.
Add the water and sugar to a pan and heat until sugar is dissolved. Let it cool slightly and add cranberries to the syrup. Do not add berries to hot or boiling liquid, they might burst.
Let them soak several hours or preferably overnight.
With a slotted spoon, place the cranberries on a wire rack that has wax paper or tin foil underneath it to catch the drips.
 Let them drain about an hour until they are sticky. Reserve the cranberry infused simple syrup.
 After about a hour they are shiny, sticky, and ready to be dunked in the sugar.
Take a few at a time and roll them into some of the sugar. Don't dump a bunch in at the same time or you will have a big clumpy mess. Trust me on this one ;)
Transfer the coated cranberries to a wire rack and let them dry for about an hour. They will feel firm and crusty when they are ready.
Store uncovered for up to 2 days. If you cover them, the sugar starts to get moist and the cranberries will loose their coating. No bueno.
These are such a pretty garnish for the holidays. They just make your food pop with a pretty frosty red color.

Ingredients:
  • 12 oz fresh cranberries
  • 1 cup water
  • 1 cup sugar (for syrup)
  • 3/4 cup sugar (for coating)
Directions:
  1. Thoroughly wash and sort the cranberries. Discard any that are damaged and soft.
  2. I like to lay them out on a white linen towel to sort them. It also makes it easier to see any stems that may not have came off during the washing process.
  3. Add the water and sugar to a pan and heat until sugar is dissolved. Let it cool slightly and add cranberries to the syrup.
  4. Let the cranberries soak several hours or preferably overnight in the refrigerator.
  5. With a slotted spoon, place the cranberries on a wire rack that has wax paper or tin foil underneath it to catch the drips.
  6. Let them drain about an hour until they are sticky. Reserve the cranberry infused simple syrup.
  7. After about a hour they are shiny, sticky, and ready to be dunked in the sugar.
  8. Take a few at a time and roll them into some of the sugar. Don't dump a bunch in at the same time or you will have a big clumpy mess.
  9. Transfer the coated cranberries to a wire rack and let them dry for about an hour. They will feel firm and crusty when they are done.
  10. Store uncovered for up to 2 days. if you cover them the sugar starts to get moist and the cranberries will loose their coating.
  11. Garnish your favorite desserts or just snack away!

Thank you so much for stopping by. If you want to check out the recipe for that pretty cranberry orange cake that these little babies adorned, click here.

Have a sweet and happy day <3

Winter Escape // The Springs, Idaho City

Tuesday, December 5, 2017

Sometimes a little escape is all you need to recharge your batteries. After the crazy, busy, amazing fall we had, we were real to recharge our batteries.

We escaped the hustle and bustle of the city, holiday shoppers and busy season yesterday by heading about two hours east, to a little town called Idaho City. Alan had a few vacation days that he needed to use before the end of the year, so we tried to think of something fun and new to do, and that also wouldn't break the bank, and this is what we came up with.

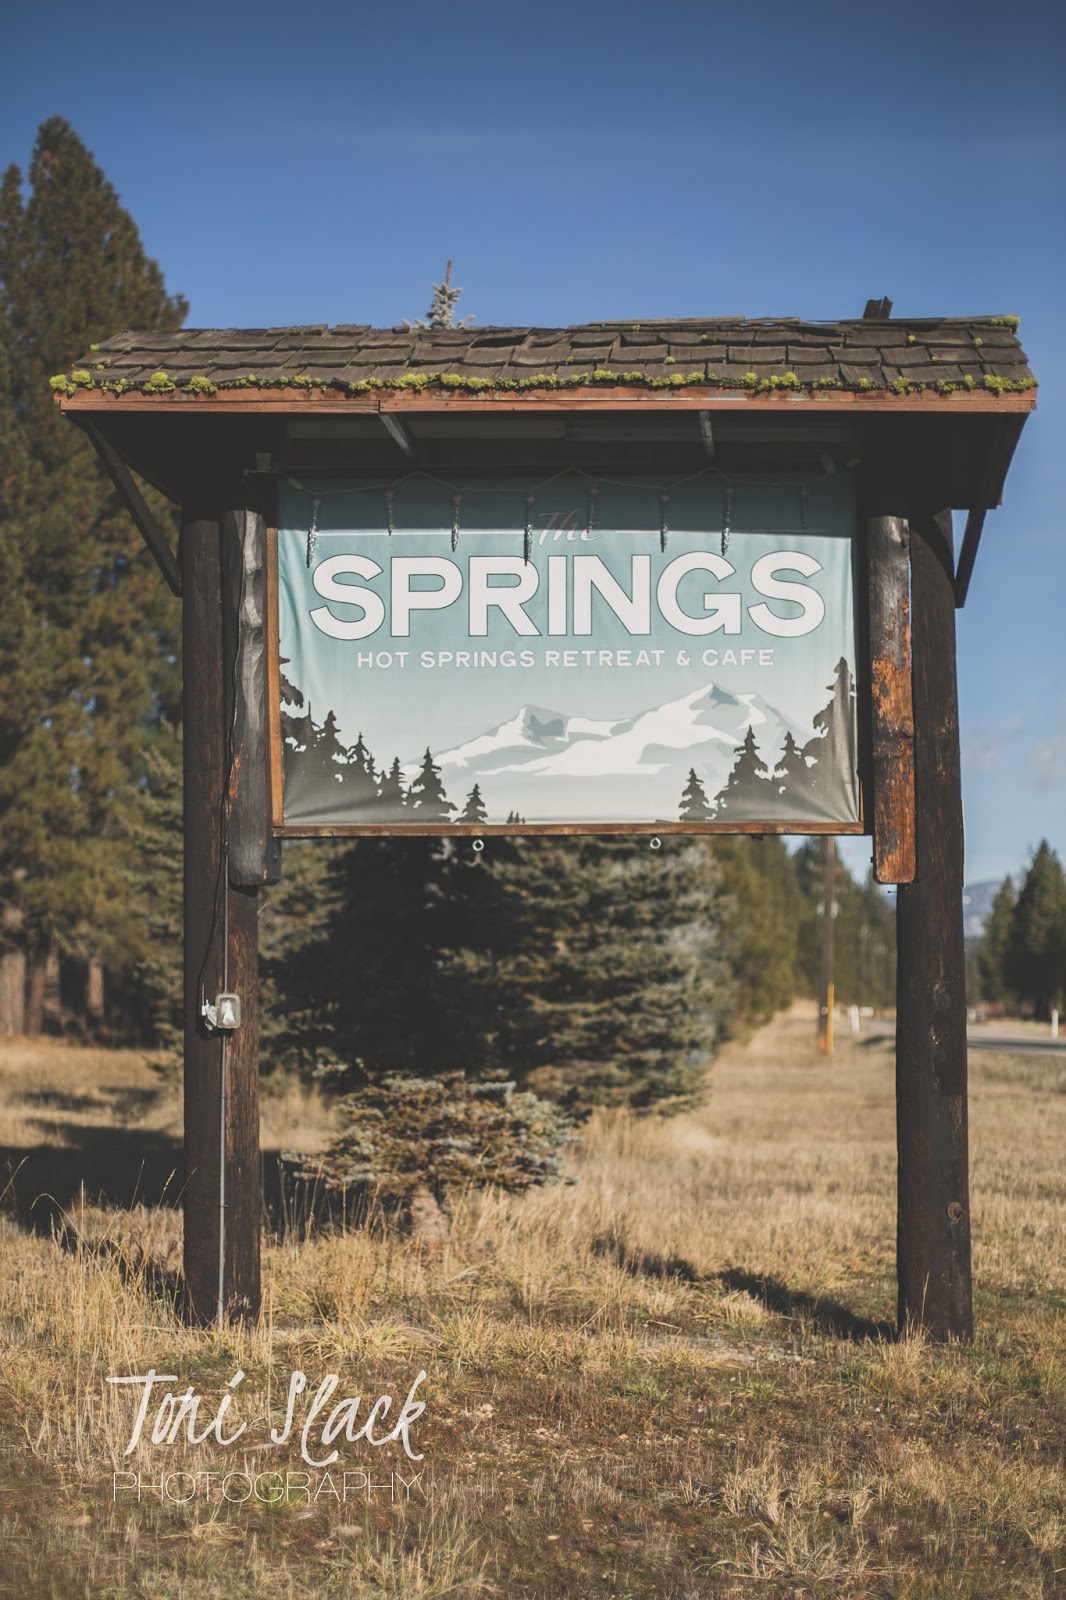
There is a nice little hot springs and spa nestled in the hillside right before you get into the city limits of Idaho City. It's called The Springs. It seriously was the prefect escape, and since we went on a late Monday afternoon, there wasn't very many people there and we ended up having a super quiet and relaxing evening.
We ended up staying a little over three hours and I could have probably just slept there if they would have let me, haha. I was so relaxed and the water was the perfect temperature. It was about 20 degrees outside so the warm water was so nice. Getting out to eat and use the restroom was another story, it was chilly!

I especially loved the pool after the sun went down. The lights changed colors and so did the water. It was so pretty.
We also checked out their private tubs. They were super secluded, had a pretty view and lots of privacy.
I can not wait to go back! The staff were all super nice and helpful. The spa and locker rooms were fully stocked and super clean. All I brought were our bating suits, they had everything else. That made the getaway even better! I didn't have to pack and haul bunch of stuff with us. They offered complimentary water which I loved!!! They infused it with, lemons, limes and oranges, it was so yummy. They had a great selection of snacks, salads, sandwiches, desserts, and other yummy food. Beer, wine, cocktails, hot cocoa, coffee, teas and other non-alcoholic options were available as well. Servers walked around the pool constantly taking food and drink orders. They offered massages in their heated/cooled yurts, it was very spa-like. You can see their full list of amenities here.

They require reservations and only allow a certain number of people in at a time, so it is not overcrowded. They are all day passes so you can stay as long as you want.

//

Down here in the valley we haven't had any official snow yet this winter, but it's coming, I'm sure if that. While on our drive I was actually excited to see a little snow! You know I'm a summer loving, hot weather, shorts and tank top, kind of girl, but the snow is beautiful, and I do enjoy looking at it too.
It was the perfect little day trip that felt like a mini vacation. We had a great time, enjoyed some fresh freezing cold air, and enjoyed some time being unplugged, reconnecting, and just spending quality time together.

If you guys are looking for a nice spot for a day getaway, I would highly recommend The Springs.

I am not being paid for my review or opinion, this is just a great place that I wanted to share with you all. Thank you so much for stopping by, I hope you have a sweet and wonderful day.

Photography Sneak Peek ~ Lexi Maternity

Sunday, November 26, 2017

I love what I do <3 and I love getting to meet new people. These two were a breath of fresh air.

Morgan & Lexi were so nice and easy going. Plus they are both seriously great looking people, which makes my job even easier.

Lexi was a trooper for our cold, morning shoot the other day. She looked great, the camera loved her,  and she was glowing. I just love that about expecting mamas. She's due to have her sweet little girl in just a couple weeks!

Morgan is seriously the sweetest guy ever, and the way he looked at Lexi during the shoot, is every woman's dream. Sweet, kind, helpful, polite, handsome. Lexi's a lucky lady.

It was a perfect session from start to finish. I seriously am in love with these photos. Thank you so much for having me capture these beautiful moments and congratulations on your baby girl.

Here's a few of my favorites...
Thank you so much for stopping by, I hope you all have a sweet and beautiful day :)

Powered by Blogger · Designed by Pish and Posh Designs