So now that it's officially acceptable to start talking about Christmas ;) I wanted to share with you a few adorable Christmas crafts I've been making. I've been crafting like crazy lately and my

I am in love with my adorable handmade trees! They were so much fun and they have so much character. This entire project only cost me $5.75!

While browsing Pinterest I came across these adorable DIY handmade Christmas trees at beautifulmatters.com and I knew I just had to try and make some of them. Hers look perfect and her tutorials are great!
 |
| Photo by Shauna Mailloux from beautifulmatters.com |
She broke up her tutorials up into 3 parts, to see each one please click Part 1, Part 2, and Part 3. And her tip to use cereal boxes as the cones is genius! And FREE!
I am definitely giving her the credit for these, there's nothing too inspiring or different that I did to make mine. I just wanted to share how mine turned out, and let you know the supplies I used to recreate these and what they cost. I did make up a few of my own that I thought would be cute and I will share those as well.
These are the 5 trees that I recreated from her original tutorial:
 *Tinsel Tree ~ Super cute & easy!! I found a 6ft strand of thin silver garland at Target for $1. I wrapped it from top to bottom securing the ends with hot glue and a couple dabs along the way. Topper is a jewelry bead. $1

 These are the 5 DIY trees that I created, I just love them:

These are the 5 trees that I recreated from her original tutorial:


*Feather Tree ~ I bought a bag of feathers at Micheal's 50% off for $1.10, this was a total pain to make LOL. I had feathers and fluff everywhere! I kinda just threw it together and definitely didn't follow the tutorial too closely, I just wanted the mess to end! But it still turned out cute! The topper is a jewelry bead. $1.10


*Feather Boa Tree ~ I love this one and it was easy. I bought the 6ft mini feather boa at Micheal's 50% off for $1.65. Starting at the top I hot glued it and started wrapping it towards the bottom gluing as I went down. I secured the end with glue and that's it! The topper was made from little sparkly styrofoam balls glued together. $1.65


*Dictionary Page Tree ~ I have a few old books just so I can craft with them, so I used book pages. This is one of my favorites and it was the most time consuming too. Figures lol! Topper is a Christmas pick. FREE


*Hemp Twine Tree ~ I used some Jute I had I my craft hoard. I just wrapped it from top to bottom, securing the ends with hot glue. Then I added in a strand of white & silver twine for a pop of color. Topper is just another jewelry bead. FREE


*Glitz & Glitter Tree ~ This is the easiest one of all. I found this glitter scrapbook paper at Micheal's for $1. I rolled in into a cone shape, hot glued the back and BAM! Instant Glitz & Glitter Tree :) Topper is a pom pom. $1


*Sparkling Snow Tree ~ Epson salt can be used in more ways than just in the bathtub. I used white acrylic paint, elmer's glue & epson salt. I quickly painted the cone using a foam brush and let it dry 5 minutes. Then I covered the cone with a thin layer of glue, thinned out with just a little water, I used the same foam brush I used for painting, I just rinsed it out first. I poured my salt onto a paper plate and then I rolled the cone into the salt. Let it dry and you have yourself a Sparkling Snow Tree. Topper is a pom pom. I had all the supplies for this so it was FREE.


 *Ruffly Coffee Filter Tree ~ I have a Keurig now and I have a bunch of coffee filters laying around that I don't use, except for crafting. This one was really fast and easy and another of my favorites. I took a few, like 5 or 6 filters, laid them flat and made a cut through the ruffle side to the center. I then cut out the center following the circle. What you're left with is a long ruffly ribbon. I cut that in half so that I had two long ribbons. I then separated out each filter, you should have 10-12 ribbons now, and then starting from the bottom I glued my way around and up to the top. I slightly overlapped the next ruffle with the previous one. I tired not to be too precise, I think it looks better when it flows a little more organically. There you have it a pretty Ruffly Coffee Filter Tree. Topper is a bead. FREE

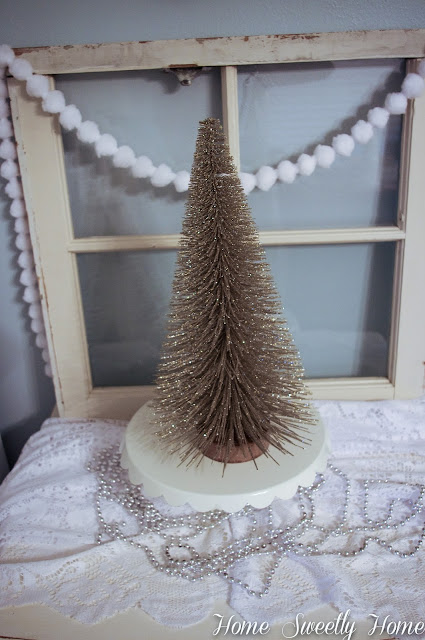
 There you have it 10 DIY cone handmade Christmas trees! And if you think that you counted 11 trees you are right. There are 11 trees in the first 2 pictures. This beauty was not handmade, but bought at Target, I just couldn't resist it's sparkly glittery-ness :) Target you win again!


*Lace Tree ~ I sew, therefor a have tons and tons of ribbon, lace and all that fun stuff. I found a piece of lace just the right length to wrap around a cone. I kept the base the neutral cardboard color so it had a little contrast. Starting at the bottom and working my way up, I glued and wrapped it until I got to the top and glued the end to secure it. Topper is made out of styrofoam balls glued together. FREE


I hope you enjoyed this post! It was a lot of fun to make these trees and it's probably my favorite Christmas DIY project I have ever done. Let me know if you try and make any of these! Happy decorating and DIY-ing! Have a fantastic day!


